Yogurt is all the health rage these days. However, there are several problems with commercial yogurt in supporting the microbiome. Commercial yogurt is often fermented for a shorter duration than generally recommended, meaning that your typical grocery store yogurt may not contain ideal levels of probiotics. Further, most yogurts contain added sugar, preservatives, binders, and fillers that can irritate or otherwise harm the gut, thus rendering the probiotics less effective. Finally, many people are vegan or have a dairy sensitivity, which has led to the growth of an array of non-dairy substitutes such as soy and coconut milk yogurt.
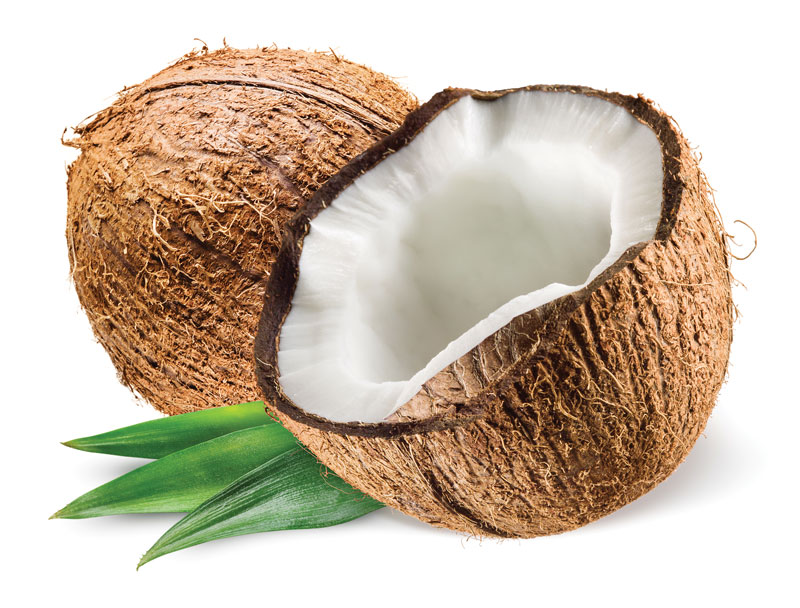
Coconut yogurt can be a great alternative for vegans or those with food sensitivities or gut issues. Coconut in general tends to be relatively hypoallergenic, unlike the bases for other non-dairy substitutes like soy. Further, coconut contains medium-chain triglycerides, fats that are easily digested and converted to quick energy. However, commercial coconut milk suffers from the same limitations as traditional yogurt such as insufficient fermentation time and the addition of preservatives and binders. For those with digestive issues or food sensitivities, thickeners such as guar gum can sometimes cause digestive distress. Also, many of the thickeners used are not appropriate for those attempting certain elimination or autoimmune diets, where additives derived from grains or beans are disallowed.
Making coconut yogurt from home is not only easy, but solves the above problems. It is economical, flexible, and free of unwanted fillers. The flexibility comes with the ability to use either a pre-made probiotic starter, which can be purchased online or from most health food stores, or your favorite probiotic supplement. The key is to look for starters and probiotic supplements with high microbial levels that have a diverse range of probiotic species, particularly from the bifidum and lactobacillum families.
Unlike cow’s milk, which thickens naturally with fermentation, coconut milk requires a thickener to give it a yogurt-like consistency. I like to thicken coconut yogurt with high quality grass fed gelatin in order to derive gut health benefits from collagen, but vegan alternatives like pectin are also possible (see this recipe for vegan coconut milk yogurt)
When buying a starter make sure it is labeled “non-dairy”. Some starters, particularly specialty ones bought online, may require slightly different preparation methods. It is important to follow those guidelines over the following recipe, as different probiotic combinations may require different methods. Finally, if you need to avoid thickeners derived from legumes note that most commercial brands of coconut milk contain guar gum, which is extracted from guar beans. Guar gum-free coconut milk (Arroy D and Natural Value are two brands I like) can be found in some stores and online. You can also make your own quick coconut milk by blending one part unsweetened coconut with 2 parts hot water until completely smooth and then straining the mixture through a nut milk bag or a large piece of cheesecloth to separate the solids from the milk.
The following is my go-to recipe for coconut yogurt. It was adapted from “Against all Grain”, by Danielle Walker.
HOMEMADE COCONUT YOGURT
Ingredients:
– 2 13.5 ounce cans unsweetened coconut milk
– 3 teaspoons unflavored powdered gelatin, preferably grass fed
– 2 teaspoons honey
– Dairy free probiotic yogurt starter or 1 50 billion IU probiotic capsule
– 1 sterilized quart jar
- Place 1/4 cup coconut milk in a wide shallow bowl. Sprinkle gelatin over it evenly and allow to bloom for 10 minutes.
- Heat the remaining coconut milk in a saucepan over medium heat until it reaches 150℉.
- Allow to cool to 110℉ then whisk in the honey and the starter or probiotic.
- Pour mixture through a mesh sieve into sterilized jar and screw on the lid.
- Place the jar in the bottom of dehydrator and ferment at 110-115℉ for 24 hours. The coconut cream and liquid will likely have separated. Shake well, then place in the refrigerator for at least 4 hours to allow the gelatin to set. Once set, blend well in a blender or with a stick blender for the smoothest product.
If you do not have a dehydrator or yogurt maker, you can ferment the jars in your oven, turned off, WITH OVEN LIGHT ON. See this article for instructions on making coconut yogurt in Crock Pot. Note that whatever method you use, your mixture should not ferment in temperatures over 115 degrees Fahrenheit. Ideal temperature is 110 degrees. Check your yogurt periodically with a good quality temperature probe if using the oven or crockpot method.
Julie Wern is a psychologist turned stay-at-home-mom turned caterer. She is currently in training at the Institute of Integrative Nutrition to become a nutrition and wellness coach. She is the author of Holcomb Farm CSA’s Simply Fresh blog and currently teaches cooking and cookie decorating classes. Contact Julie at jwern@comcast.net for comments and inquiries.
